How to Make a Green Screen Picture
How to Make a Green Screen Picture

What pops into your mind when you hear Greenish Screen? Nosotros're guessing it's a mix of blockbuster activeness scenes and actors in silly light-green outfits. Reasonably, you might retrieve Green Screen is something only available to high-budget Hollywood movies – think once again.
It'south actually very simple to make your own Green Screen videos with little more than a reckoner and a practiced online video editor (with stock footage, you don't even need your own video!). In fact, we've added a new Dark-green Screen filter to Clipchamp Create. To become you lot started, this weblog post will give you the step-past-step on how it all works. In it, we'll exist roofing:
-
What is Light-green Screen?
-
How to brand Green Screen videos in Clipchamp Create
What is Green Screen?
Green screen aka Chromakey is a special furnishings technique that allows video editors to isolate and remove a chosen colour (usually greenish) from footage and then supervene upon it with other video or paradigm. This technique enables filmmakers to set scenes in environments that wouldn't exist physically possible, hence its common utilise is in sci-fi and fantasy films.
Making a video with a green screen has a fun fact: brilliant green is most oftentimes chosen as the background color for Chromakey or Greenish Screen considering information technology's the least likely vesture colour for talent to exist wearing on gear up.
How to utilize Dark-green Screen in Clipchamp Create
It's certainly possible for you lot to shoot your own Dark-green Screen videos and edit them using our Light-green Screen filter in Clipchamp Create. In this tutorial, however, we'll exist showing you how to create Green Screen videos using simply footage from our Stock Library.
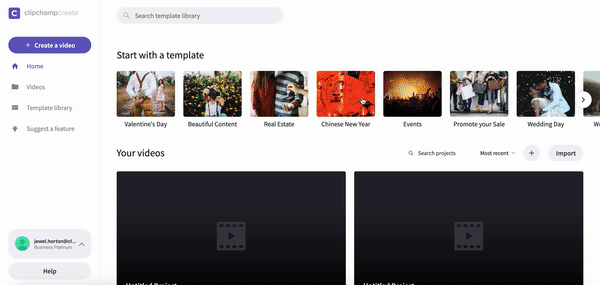
Step 1. Create an account
Log into your Clipchamp Create account, or sign upwards for free to get started.

Step 2. Create a new project
Select the Create a Video button on the left side bar. Nosotros offer five different formats to cull from. Select the video ratio that best suits your project. We recommend using widescreen 16:9 if you are wanting to upload to YouTube.
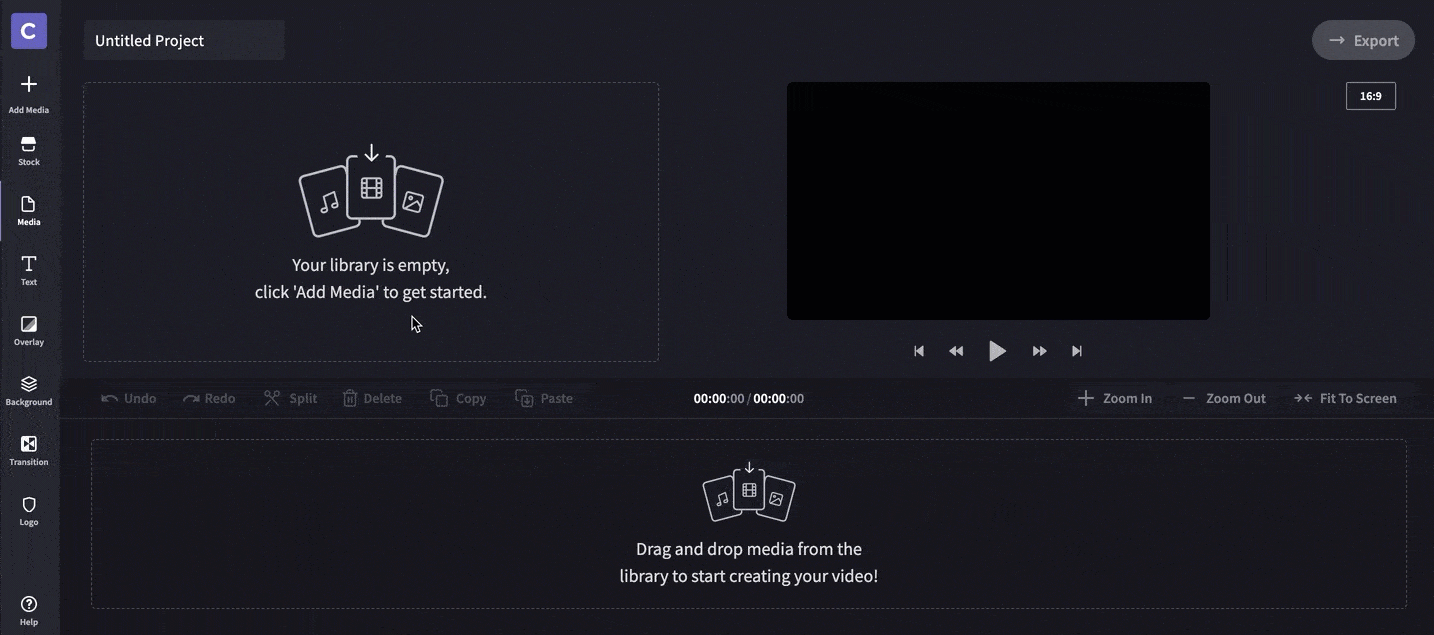
Step 3. Cull a Dark-green Screen prune
To observe a Light-green Screen clip, click on the Stock button in the left toolbar. In one case the Stock Library has opened, enter "dark-green screen" or "chromakey" into the search bar. Search through the results and choose the clip you'd like to use. Hover your mouse over your called prune and a + button volition appear, click this to add the clip to your project library and so click the Close push button to return to the editor.
Alternatively, if y'all've shot your own Green Screen video, simply click the Add Media button in the left tool bar and upload your video file to the video editor.
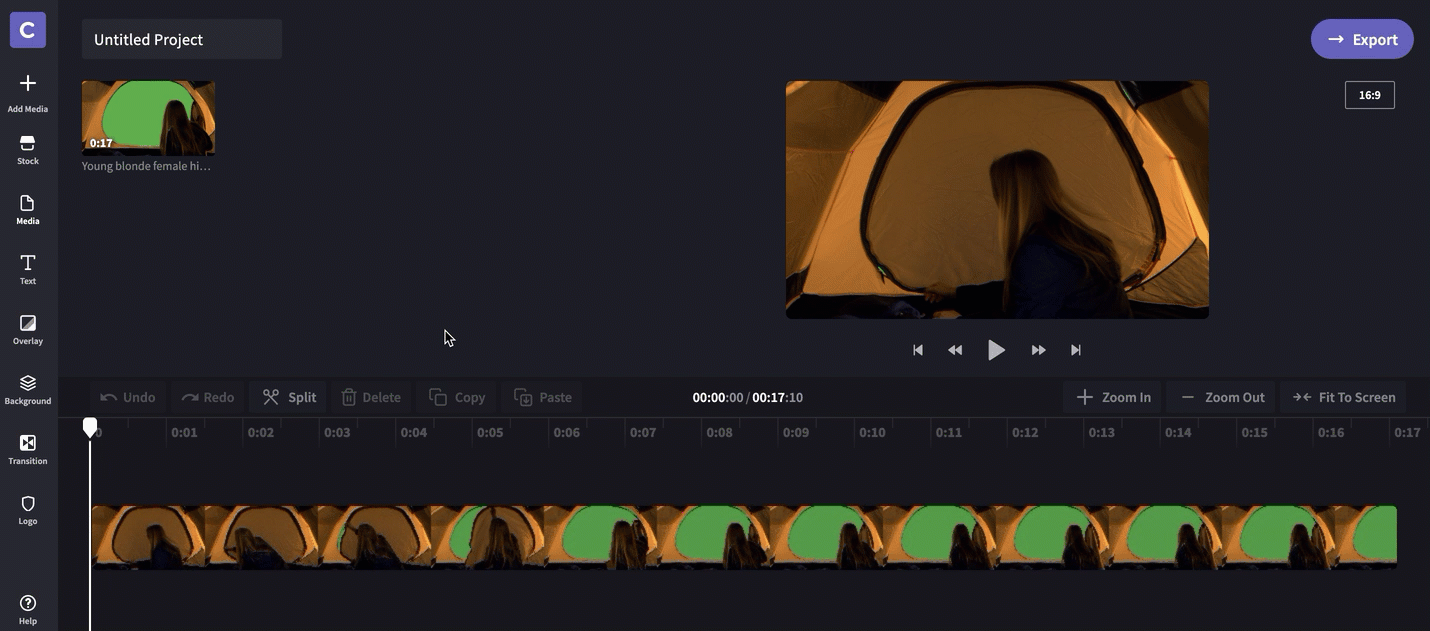
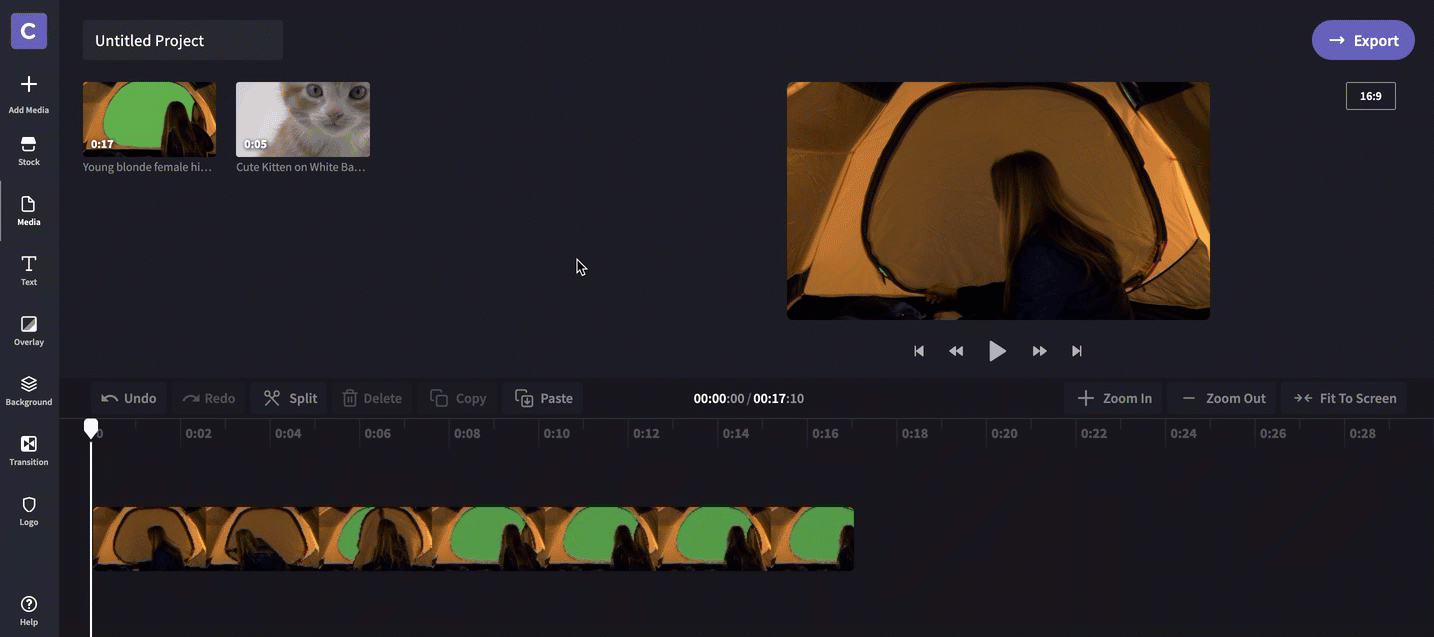
Step 4. Add the Light-green Screen clip to the editing timeline
Click, elevate and driblet your Dark-green Screen clip down onto the editing timeline. And then, click the Play push button to sentinel it and get an idea of how it will work. The green background in the clip is where your background video or epitome will eventually announced.

Footstep 5. Choose a background clip
Now it'south time to add together your background video or image. This is pretty simple if you're using stock video. Click on the Stock push button in the left toolbar. Once the Stock Library has opened, enter your terms into the search bar. Search through the results and choose the clip you lot'd like to use. Hover your mouse over your chosen clip and a + button volition appear, click this to add the clip to your project library and and so click close to return to the editor.
Alternatively, if you lot're using your own groundwork video or image, simply click the Add Media button in the left tool bar and upload your video file, image or GIF to the video editor.
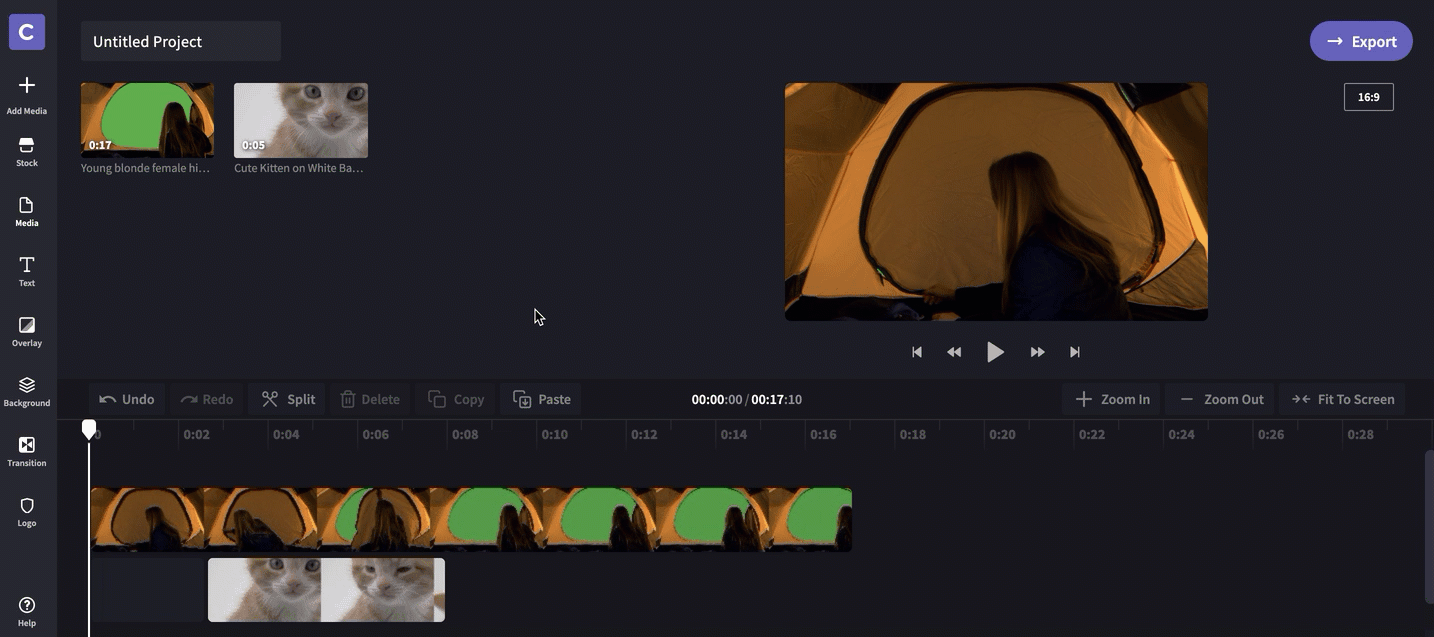
Step six. Add the background media to the editing timeline
To add your groundwork media you lot will need to click, drag and driblet it to the timeline beneath your Green Screen clip then information technology will appear every bit a groundwork. A green line will be shown beneath your Green Screen clip to let you know when you've dragged the groundwork media to the correct position. From here, motion the media to brand sure information technology lines up with the first appearance of Dark-green Screen in your Green Screen clip.
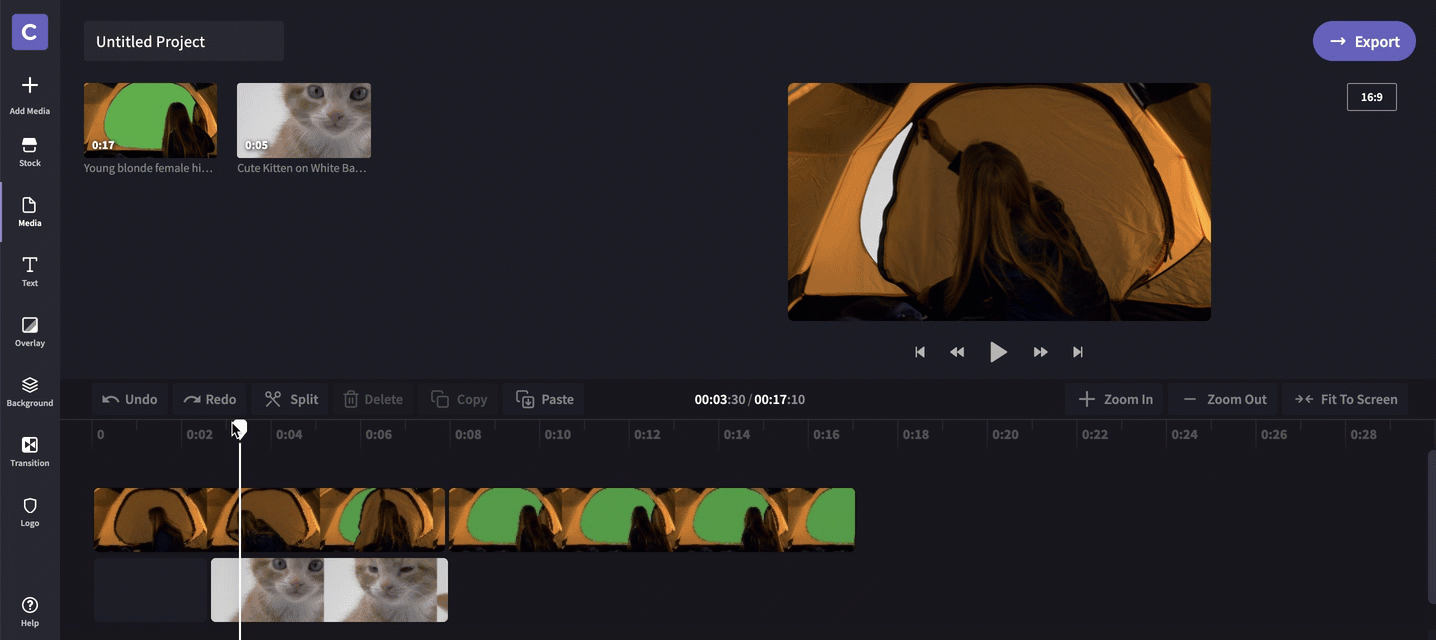
Step vii. Apply the Green Screen filter to your Light-green Screen clip
Select your Greenish Screen video then click the Filters tab in the menu that appears above. Curlicue down to select the Green Screen (Beta) filter. You don't demand to apply this filter to your background media. To test your Green Screen, hit the Play push.
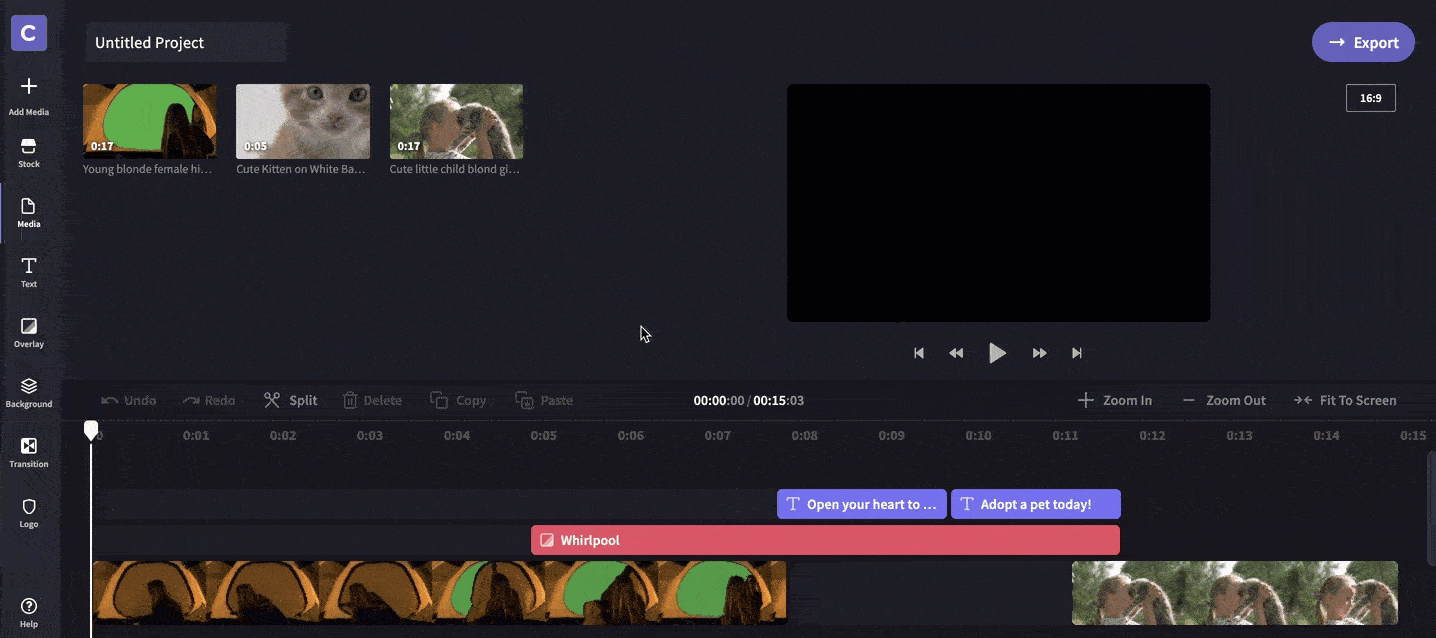
Stride 8. Edit your projection
At present that your Green Screen is working it'due south time to edit the rest of the project. You may need to trim some of your media assets to match upwardly and then that no Light-green Screen is visible. You tin can also add transitions and text as y'all similar!
Stride 9. Review and export
Now it's fourth dimension to review your video. Once you're happy with it, click the Export button at the top right corner of the editor, then select your resolution and click Continue. After this, you might want to edit and consign your video in other aspect ratios to share across different platforms.
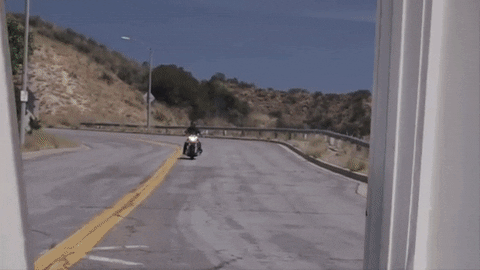
Take a look at our finished Green Screen video below!
How to Make a Green Screen Picture
Posted by: arnoldsidlits.blogspot.com


Comments
Post a Comment